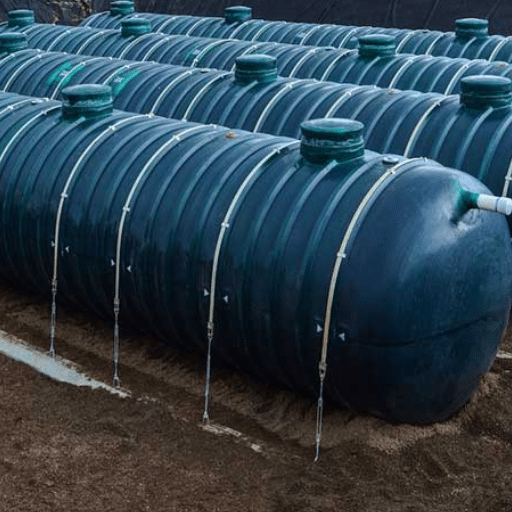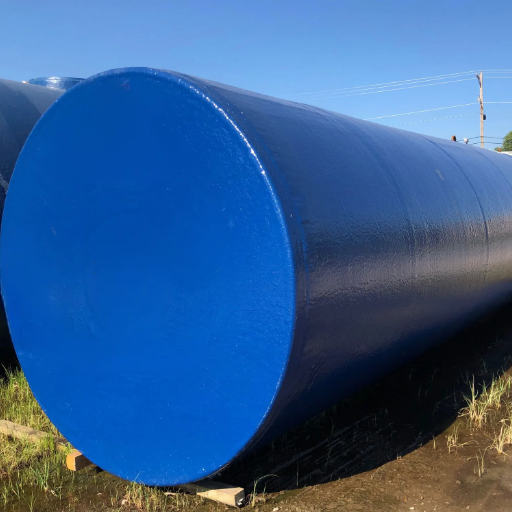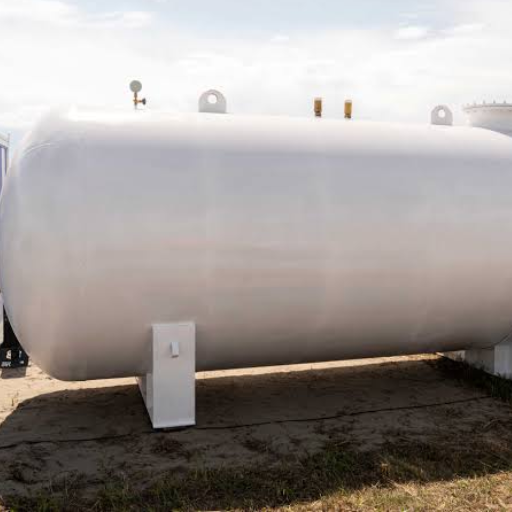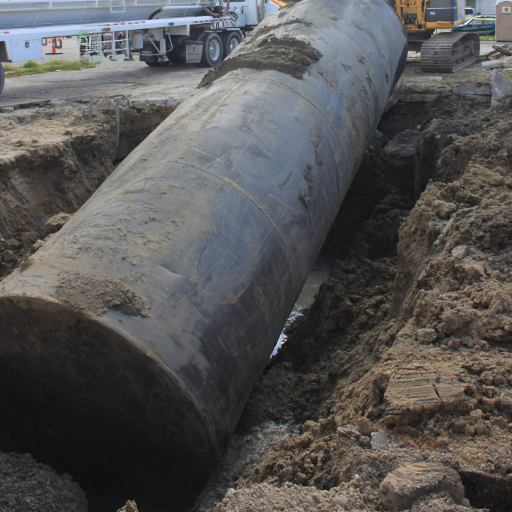
The tank that fails inspection is rarely the one with a visible leak. Most owners watch for fuel on the ground or a failed alarm. The damage that matters usually starts where nobody can see it: the outer wall of a double-wall tank, buried under backfill and quiet for years.
Gas station fuel tank integrity depends on three things staying true. The steel inner wall must hold product. The FRP outer wall must keep soil and groundwater out.
The interstitial space must be able to tell you which wall failed. When one signal is missing, a small defect can become a replacement project.
This guide explains how to assess an SF tank’s FRP outer wall, read the interstice, repair accessible damage, and decide when repair stops making sense. It covers UL 1746 construction types, inspection cadence, the defect patterns that matter, and the tests that finish a repair.
For comprehensive information, please read our double-wall fuel tank specifications explained guide.
What SF Means, and Why the UL 1746 Part Decides the Inspection Method
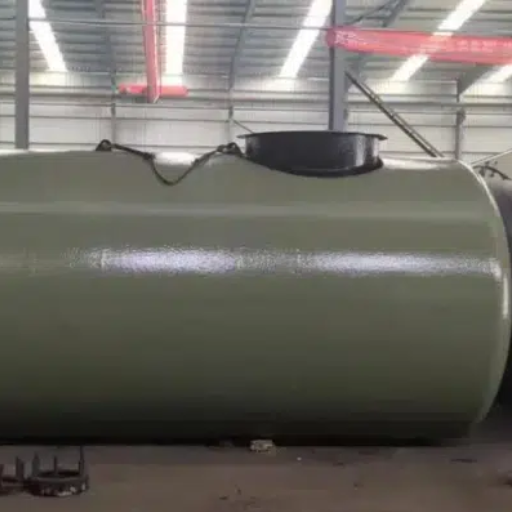
SF is Chinese procurement shorthand for a steel inner tank with a fiberglass outer layer. In UL terms, the same construction is described by its external corrosion protection system, not by the letters SF.
That’s why the distinction matters: UL 1746 is organized into parts, and the part decides what you can inspect.
| UL 1746 part | Construction | Is there a testable interstice? |
|---|---|---|
| Part I | Galvanic cathodic protection on a coated steel tank | No |
| Part II | FRP composite bonded to the steel tank | No separate interstice by definition |
| Part III | Jacketed system with an interstitial space | Yes |
| Part IV | Polyurethane coating on steel | No |
A Part II composite is bonded to the steel. The FRP is the corrosion barrier, but it isn’t a separate secondary containment wall. A Part III jacketed system has a real gap between the steel and the jacket, and that gap can be monitored and vacuum-tested.
Many tanks sold as SF in export markets are built to a Part III style with a testable interstice. But the label alone doesn’t prove it. SF tank inspection starts with the listing and the submittal, not with what the brochure calls the tank. The SF double-wall tank specification guide explains what those documents should contain, and the UL 1746 certification guide covers the part differences in more detail.
If you’re specifying a replacement, ask for the UL 1746 part and the interstice test procedure before you compare prices. Request a specification review, and we’ll check both against your site conditions.
Gas Station Fuel Tank Integrity: The Three Condition Signals
An SF tank gives you three places to look. Double-wall tank inspection starts with the interstice: it’s the only one of the three available in service. The hierarchy matters.
The interstice
For a jacketed tank, the interstice is the primary condition monitor. Normal means stable vacuum or pressure, no liquid, and no recurring alarm. Abnormal means liquid, vacuum decay, or a returning alarm.
The interstice can’t tell you where the breach is. It tells you which wall has stopped doing its job, and whether the fluid is product or water.
The exposed FRP
The only laminate you can see without excavation is at the tank top, sumps, manways, and risers. Look for cracks, blisters, crazing, exposed glass, impact gouges, staining, and weeping at cut edges.
These areas are small, but installation damage and fitting leaks usually show up there first. A clean tank top isn’t proof that the buried wall is sound. It only shows whether the top details were built right.
The steel primary wall
The steel wall is assessed from inside, through a manway, using visual inspection, ultrasonic thickness, and remote video. Deflection and bottom flatness matter too, especially on older tanks that may have settled.
An internal lining can restore the steel wall’s product contact surface, but it can’t repair a breached outer jacket. It won’t turn a single-wall tank into a double-wall tank either.
Consider Daniel, who runs a 12,000-liter station near a coastal road. In March, his tank gauge logged a water alarm in the interstice for three weeks running.
The tank top was dry, the sumps were clean, and the vacuum held, ruling out the obvious suspects. A helium test traced the leak to the monitoring-tube fitting at grade. A new seal and a 24-hour vacuum test put the tank back in service. The outer wall had never been breached.
The scenarios here are illustrative composites, not client records.
How Often Should a Gas Station Fuel Tank Be Inspected?
Under the federal UST rule, a gasoline tank system needs a walkthrough every 30 days. The check covers spill prevention equipment, release detection equipment, and the interstitial area of double-walled equipment. Records of each walkthrough must be kept for one year.
The full cadence is broader than most owners expect, and it’s easy to fall behind:
| Interval | What is checked | Record retention | Source |
|---|---|---|---|
| Every 30 days | Spill prevention, release detection equipment, interstitial area | 1 year | 40 CFR 280.36 |
| Annually | Containment sumps, hand-held release detection equipment, operation test of release detection | 3 years for the annual operation test | 40 CFR 280.36; 40 CFR 280.40(a)(3); 280.45 |
| Every 3 years | Spill and overfill prevention equipment; cathodic protection if the tank has it | 3 years for spill and overfill | 40 CFR 280.35; 280.31 |
| Every 60 days | Impressed-current cathodic protection operation check | Keep the last three inspection results | 40 CFR 280.31(c) |
| After a repair | Tightness test; cathodic protection test; spill and overfill inspection | Repair records until closure | 40 CFR 280.33 |
State and local programs are often stricter. Some require annual precision tightness testing, additional sump checks, or a qualified inspector for certain repairs. Confirm the local rule before you set the calendar.
The important point is that the 30-day walkthrough isn’t a gas station fuel tank integrity test. It’s a check that the equipment is working. A tank can pass every walkthrough for years while the outer wall slowly takes on water.
FRP Wall Assessment: What You Can and Cannot See

A buried FRP outer wall can’t be inspected visually in service. That’s the first rule of FRP tank inspection: in service, you read signals, not surfaces. Anyone who says otherwise is describing an exposed sump or tank top, not the wall.
What you can assess without excavation:
- Interstice vacuum or pressure decay, using the manufacturer’s procedure or a recognized protocol.
- Liquid level and chemistry in the interstice.
- Helium or air tracing to separate a tank-top fitting leak from a wall breach.
- The exposed laminate at sumps, manways, and risers.
What requires excavation or tank removal:
- Visual and tap-test inspection of the buried laminate.
- Ultrasonic thickness readings at defined points.
- Holiday testing of a repaired area.
- Direct observation of backfill damage, gouges, or deformation.
When you get access, the defect pattern tells you what happened. This table is the assessment map we use.
| Defect | What it looks like | How to assess it | Typical action |
|---|---|---|---|
| Blister, Type I | Small surface dome, fluid-filled | Visual, tap test | Open, dry, rebuild |
| Blister, Type II | Hollow tap, whitening, layer separation | Tap test, UT | Grind and rebuild structural laminate |
| Blister, Type III | Widespread deep delamination, wall cracks | Tap, UT, acoustic emission | Reline or replace |
| Delamination | Hollow sound, spongy, edge separation | Tap, UT, acoustic emission | Local repair if bounded; else replace |
| Crazing | Fine surface cracks | Visual, Barcol | Clean and recoat if sound |
| Exposed glass | Chalky, fibrous surface | Visual, thickness | Barrier coat if thick enough; else replace |
| Impact or backfill damage | Gouges, star cracks | Visual after excavation | Grind and laminate if localized |
| Chemical attack | Softening, swelling, discoloration | Barcol, compatibility check | Fix the mismatch; reline or replace |
| Fitting or penetration leak | Staining, interstice water, bubbles under test | Helium or air test | Reseal and re-test the interstice |
Three test methods matter. ASTM D2563 classifies visual defects in glass-reinforced plastic laminates. ASTM D2583 measures Barcol hardness, an indicator of cure and resin condition. ASTM D5162 covers holiday testing, which is how a repaired jacket is checked for pinholes.
Barcol values vary by resin system and manufacturer, so compare the reading with the original specification and submittal. Don’t apply a single pass/fail number from a blog post, including this one.
Acoustic emission (ASTM E1067) can detect active damage in FRP tanks and vessels. It’s an advanced option, though, not a routine field test for a retail station.
Consider Priya, an EPC engineer commissioning a retail site. Her contractor ran a vacuum test on a new tank, and it failed twice. The contractor recommended replacement.
Priya isolated the monitoring tube and repeated the test. The interstice held. The leak was in the field-installed transition pipe above the tank, not the jacket. The fix was a fitting and a re-test.
Diagnosing Water vs Product in the Interstice

The fluid in the interstice is the most useful diagnostic you have. Identify it before you authorize any work.
- Sample the liquid. Determine whether it’s product or water. If the tank is compartmented, identify which product.
- Compare levels. If the water level matches the groundwater level around the tank, the outer wall or a fitting is the likely path. If the product level matches the primary tank level, the inner steel wall is the likely path.
- Remove the liquid and wait. Pump out the interstice, record the time and volume, and let the tank sit for several hours to a day. If the liquid returns to the same level, the breach is still open.
- Isolate the monitoring tube. A low-pressure helium or air test at the tank top will show whether the path is a fitting or the wall itself.
- Vacuum-test the interstice. For a steel or jacketed tank, STI SP131 describes pulling at least 10 inches of mercury and holding it for one hour with no loss. For an FRP dry annulus, the Fiberglass Tank and Pipe Institute protocol is the usual reference. The federal definition of the method is in 40 CFR 280.43(g).
| Signal | Most likely breach | Next test |
|---|---|---|
| Water at groundwater level | Outer jacket or a tank-top fitting | Helium trace; isolate the monitoring tube |
| Product at primary tank level | Inner steel wall | Primary tank tightness test; internal inspection |
| Vacuum decays, no liquid | Small breach or fitting path | Repeat vacuum; helium trace |
| Alarm clears and returns | Intermittent fitting leak or sensor fault | Test the sensor, then the fitting |
Fuel in the interstice is an explosive-atmosphere hazard. Inert the space before grinding, cutting, or sandblasting, and follow confined-space procedures for any entry. Don’t treat a fuel alarm as a sensor problem until the sensor has been tested.
The interstitial monitoring methods guide explains the sensor types and alarm logic in more detail. This article is about what the readings mean, not how to wire the panel.
Repairing an FRP Outer Wall
Not every defect is repairable in place. A localized gouge above the midpoint, exposed laminate at a sump, or a leaking fitting seal can usually be repaired. A breach below the midpoint, widespread delamination, or a large bond failure requires removal or replacement.
The repair sequence for an accessible jacket follows a few rules:
- Grind out the damaged laminate until you reach sound material.
- Clean the steel or existing laminate to a minimum 1.5-mil surface profile. Wipe the area with MEK.
- Saturate the glass mat or cloth with a compatible catalyzed resin.
- Overlap the cured laminate by at least 3 inches on all sides.
- Let the repair cure, then holiday-test the entire repaired area at 100 volts per mil of nominal thickness, per ASTM D5162. Repair any holiday and re-test.
- Barcol-test the repaired jacket and confirm the thickness and hardness against the original manufacturer’s specification.
The resin must match the original system and the stored fuel. Polyester over epoxy is a common and expensive mistake. If the tank is changing fuel service, check the SF tank fuel compatibility guide before choosing the repair resin.
Steel primary repairs follow a different path. Options include an internal lining, a weld patch, a bolted patch plate, or a combination.
API RP 1631 is the usual reference for interior lining. A lining restores the product-side barrier. It doesn’t repair the outer jacket or restore secondary containment.
After the repair, the regulatory clock starts:
- Tightness-test the repaired tank or secondary containment within 30 days in most cases.
- Test cathodic protection within six months, if the tank has it.
- Test or inspect spill and overfill equipment within 30 days.
- Keep the repair records until the tank is permanently closed or changes service.
Record the defect location, method, materials, cure records, holiday and Barcol results, vacuum test, photos, and inspector qualification. A repair without that package is hard to defend at inspection and harder at an insurance review.
Need the submittal package for an SF tank? Compare SF double-layer tank specifications and ask for the interstice test procedure.
Repair vs Replace: A Decision Matrix

Repair fits a bounded defect, sound surrounding laminate, good access, and meaningful remaining life. Replacement fits a widespread defect, a failed primary wall, or a repair that only postpones a second failure. Those four tests decide the tank repair vs replacement call.
| Condition | Repair viable? | Replace? | Why |
|---|---|---|---|
| Localized exposed-laminate damage above the midpoint | Yes | No | Accessible; bounded; restores the barrier |
| Water in the interstice from a fitting leak | Yes | No | Fix the fitting and re-test |
| Water in the interstice, vacuum fails, breach below the midpoint | Usually no | Yes | Removal is needed to reach the breach |
| Widespread delamination or Type III blistering | No | Yes | The structural laminate is involved |
| Through-wall steel corrosion or failed primary tightness | No | Yes | The product barrier has failed |
| Single-wall tank at a site that requires secondary containment | No | Yes | The tank cannot be upgraded by patching |
| Fuel change the resin or seals cannot tolerate | Sometimes | Sometimes | Reline with a compatible system or replace |
| Repair cost approaching replacement, or repeated repairs | No | Yes | The remaining life doesn’t justify the spend |
Cost is only one input. Downtime, excavation access, permitting, contamination risk, insurance, warranty, and remaining life all matter just as much. Be skeptical of a repair quote that presents a fixed fraction of replacement cost without stating what it excludes.
Consider Omar, who distributes fuel equipment in a market where tanks are often repaired past their design life. A customer’s 20-year-old SF tank had widespread delamination across the lower shell. The repair quote proposed a patch.
Omar compared the defect against the triggers above. The patch would have covered sound laminate at the edges but left the bond failure untouched. The customer replaced the tank and avoided a second failure.
If the decision is replacement, the underground fuel tank removal and decommissioning guide covers the excavation, permitting, and disposal process. Don’t let a repair decision drift into an emergency removal.
Gas Station Fuel Tank Integrity FAQ
How often should a gas station fuel tank be inspected?
Under the federal UST rule, a walkthrough is required every 30 days, with annual sump and equipment checks and a triennial spill and overfill inspection. State rules may be stricter. The walkthrough checks equipment, not structural condition.
Can you inspect a buried fiberglass tank without digging it up?
Fiberglass tank inspection without excavation covers three things. You can assess the interstice, the exposed laminate at sumps and manways, and the steel wall from inside. You can’t visually inspect the buried outer wall without excavation. The interstice is the primary in-service monitor.
What does water in the interstice mean?
Water usually means the outer jacket or a tank-top fitting has breached. Compare the water level with groundwater. If they match, the outer wall is the likely path. Isolate the monitoring tube before authorizing excavation.
What does fuel in the interstice mean?
Fuel usually means the inner steel wall has breached. Compare the interstice level with the primary tank level. Take the tank out of service, notify the implementing agency, and follow the release-response procedure before any repair.
Can a fiberglass tank be repaired?
A localized, accessible defect can be repaired with compatible resin and laminate. Widespread delamination, a breach below the midpoint, or a failed steel-to-FRP bond usually requires removal or replacement. Test and document the repair before service return.
Does an SF tank need cathodic protection?
It depends on the UL 1746 part. Part II and Part III FRP systems protect the steel without cathodic protection. A Part I system uses galvanic anodes and needs testing within six months of installation and every three years.
Conclusion
Gas station fuel tank integrity comes down to three things, and they’re short.
First, the interface is the instrument. On a jacketed SF tank, the vacuum, pressure, or liquid reading tells you more than any visual check at grade.
Second, the UL 1746 part decides the method. A bonded composite and a jacketed system don’t have the same inspection path, and “SF” doesn’t tell you which one you own.
Third, repair is a tested return to service, not a patch. The laminate procedure, the holiday test, the Barcol check, the vacuum test, and the repair records are what make the fix defensible.
If you’re planning a repair, a replacement, or a specification review, our engineering team can check the listing, the interstice test procedure, and the submittal package against your site. Gas station fuel tank integrity decisions are easier to defend with those documents in hand. Request a specification review before you approve the scope.